
Rembrandt didn’t have a softbox. Neither did Vermeer or Caravaggio. Yet the portraits created by these artists have been held up as examples of beautiful lighting for centuries.
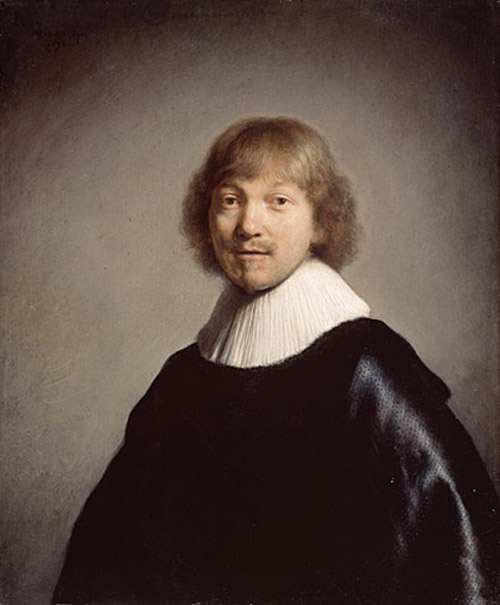

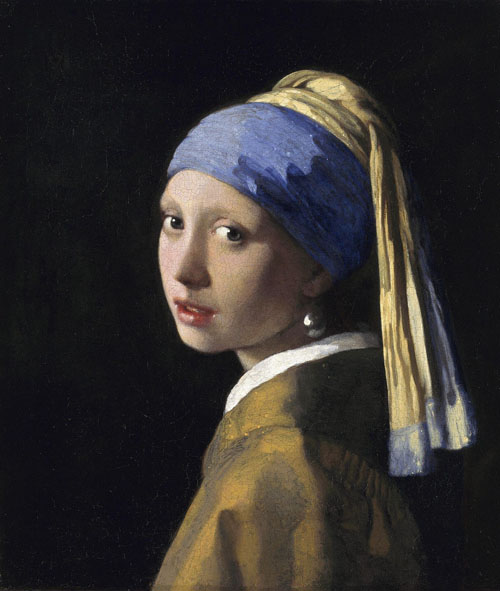
Borrow a page from the Old Masters: leave the lamps at home, and use the lovely light from a window to illuminate your next location headshot or business portrait. As an added bonus, you’ll have almost no setup, and won’t be dependent on electricity. Here’s how to do it.
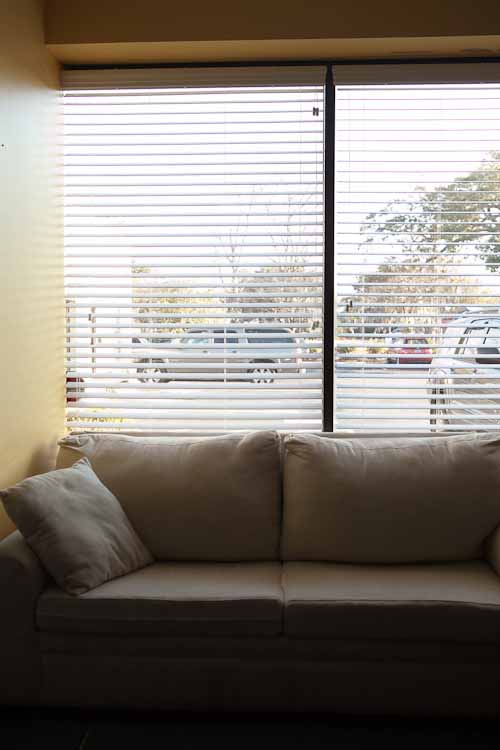
Step 1. Find a large window or doorway that does not have direct sun streaming through it. Indirect lighting is key to this setup.
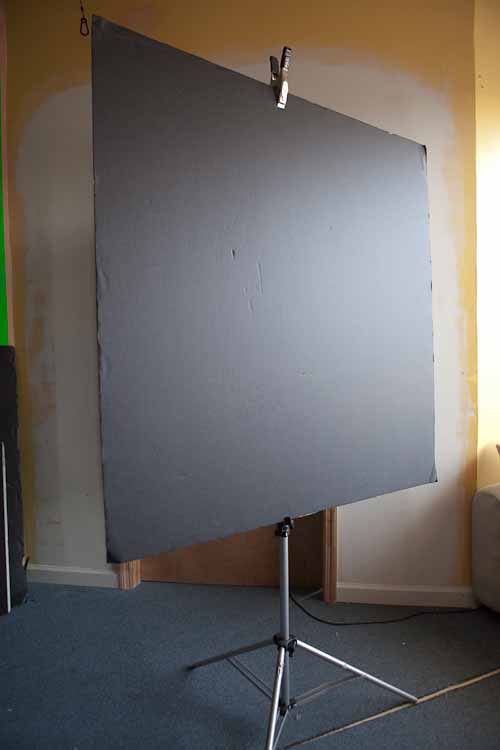
Step 2. (Optional) Set up a portable backdrop in front of the window/doorway. A 5′-wide roll of seamless paper suspended from a C-stand works well, as does a sheet of black foamcore clamped to a lightstand.
Step 3. Position the model in front of the backdrop. It doesn’t have to be far; you just need enough distance between the subject and the backdrop to ensure that his or her shadow will not be visible on the background.
Step 4. Take your shot. If you position the model facing directly into the window, you’ll get a soft, even light that is very flattering, particularly for female subjects.

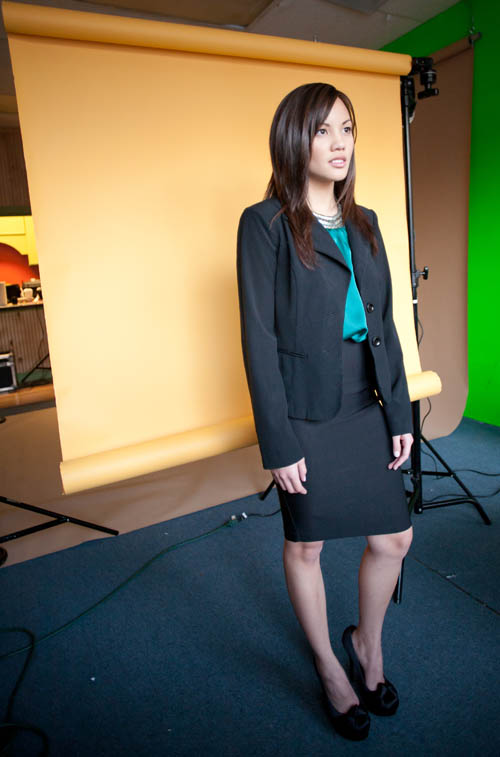
Here’s an example that uses a doorway instead of a window, and uses the interior of the room as a background.

If the completely frontal light is little too flat for you, just angle yourself or the model slightly. This will allow the light to have a bit of directionality, without creating dramatic shadows.

For a male subject, you may want to angle the model and backdrop even more. This will give you a very “painterly” quality of light. You can easily adjust how much light falls on the background by angling it towards or away from the window. This setup is great for on-the-fly business headshots.
A nice benefit of using window light, as opposed to artificial lighting is that the model’s pupils will be larger (which is usually more appealing), and his or her face won’t have the muscular tension that inevitably accompanies the anticipation of a sudden, very bright light. Moreover, since the actual light level is relatively low, it lends itself readily to the use of a wide aperture, providing very flattering, shallow depth of field.

In post-processing, your photo straight out of the camera may look a little dingy. Bring up the brightness (midtones) in your image to give some life to the skintones, and then boost the contrast to give the image some punch. Pull up the blacks level to add richness to the shadows. White balance and vignette to taste (with small windows, you may need to add a very soft negative vignette to brighten up the outer edge of the face).

In just a couple of minutes, you’ll have a finished image that you can tell people is reminiscent of Rembrandt, Vermeer and Caravaggio!