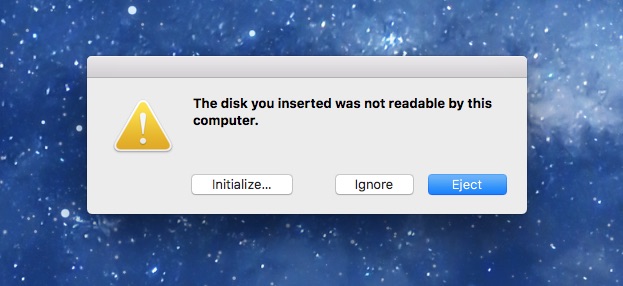
The day you dreaded finally arrived: you shot once-in-a-lifetime video footage, you plugged the SD card into your computer’s reader … And you got the unreadable disk message of death.
You may have tried some recovery software you already own, but it didn’t work. There are a number of online businesses selling expensive software with free trials. You may have tried those, and they didn’t work either. This is particularly likely if you’re trying to recover Quicktime files. The software may have salvaged something that looked like it was a Quicktime file, but it’s probably just black video and static, if it opens at all.
In the immortal words of Douglas Adams, “Don’t panic.” There’s a fantastic tool you can use, and it’s absolutely free. However, you will have to dig under the hood a little bit more than you normally would, because it runs under Terminal mode.
But again, don’t panic. You can do this!
The magic wand you’re looking for is called Testdisk/PhotoRec. I guess that stands for Photo Recovery, but it’ll exhume any kind of file, so if you have audio or video clips, don’t let the name throw you off. In fact, PhotoRec is the ONLY software that was effective in recovering about 100GB of Quicktime files that I had on an unreadable SD card (which is why I’m writing this post … I had to search all over the internet to find the info I needed. If that happens again, I’ll be able to follow my own advice.)
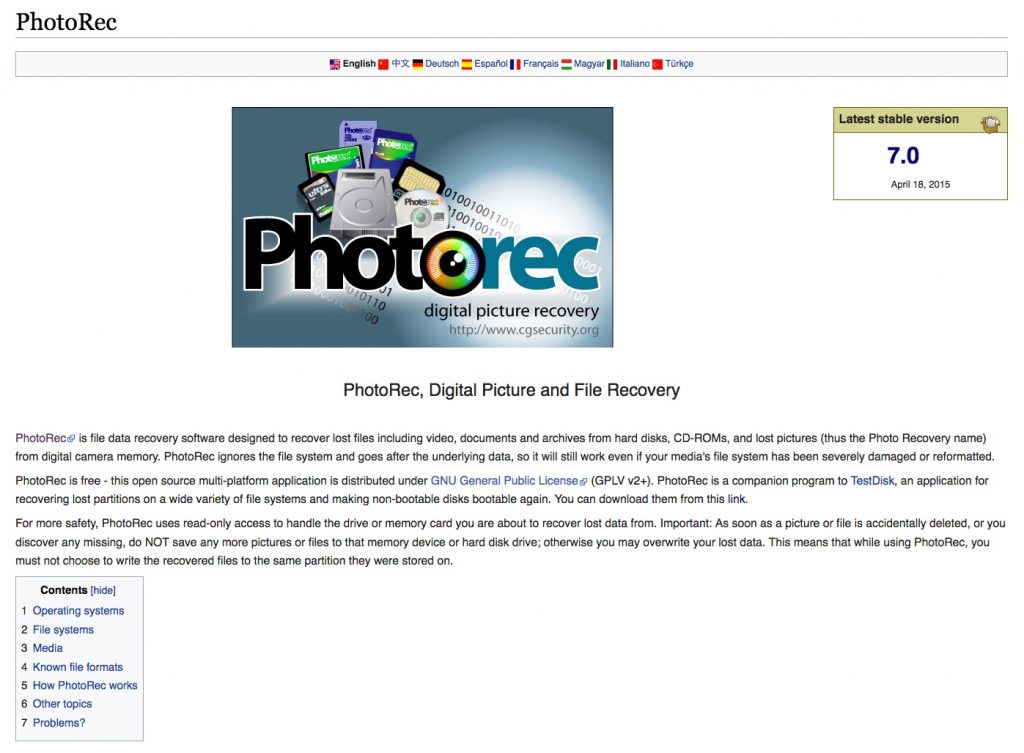
Step 1. Download PhotoRec
The software is open-source and free to download. Get it here. Detailed instructions for installation and use are here, but I’ll give you the short version. I put it right on my Desktop, in a folder called “testdisk.”
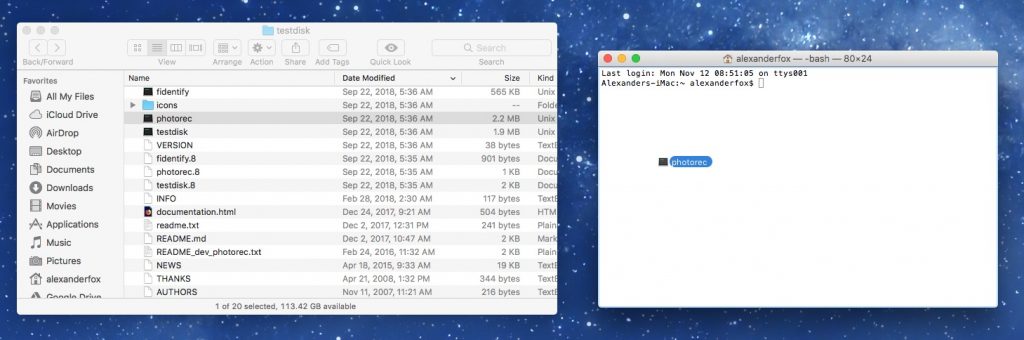
Step 2. Run PhotoRec In Terminal
Terminal is the command-line interface on your computer. If you’re not familiar with it, you’ll feel like a hacker. It’s cool. However, command-line interfaces are a lot easier to use than they used to be. Locate the PhotoRec executable file wherever you downloaded it, and drag-and-drop it into the Terminal window. It will automatically type in the location of the file. It will look something like this: /Users/yourname/Desktop/testdisk/photorec Then, press Enter.
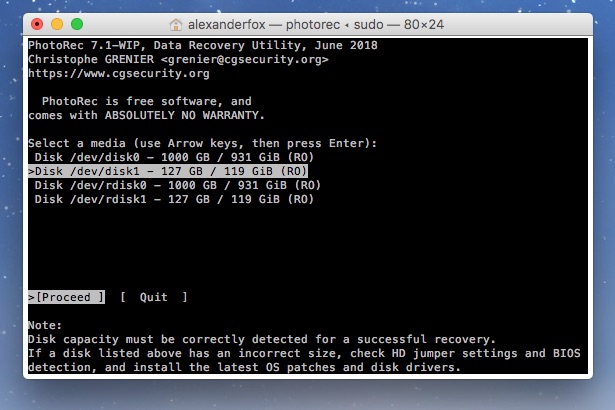
Step 3. Recover Your Files
PhotoRec will prompt you for your password, and then ask a bunch of questions about the disk you’re trying to recover. Those are all fairly straightforward. If you get confused, refer to the official documentation. It’ll also ask you where you want the files put. It will create a subdirectory in that location, so don’t worry about it filling up your Desktop (or whatever) with a million files.
Step 4. You’re Done! Except Quicktime
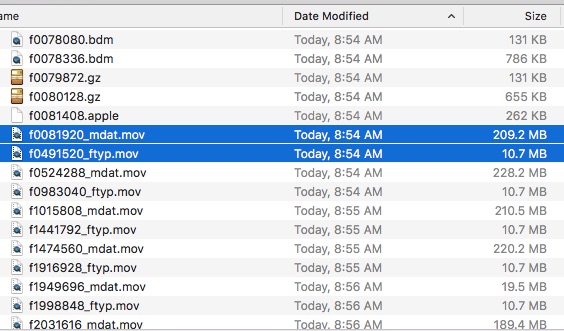
The good news is that PhotoRec will pull any self-contained file like WAV or RAW right off the damaged disk like magic. The bad news is that Quicktime files aren’t self-contained. Every Quicktime file contains two parts: a small “_ftyp” file that identifies the specific codec used to encode the file, and a larger0 “_mdat” or .mp4 file that contains the actual data.
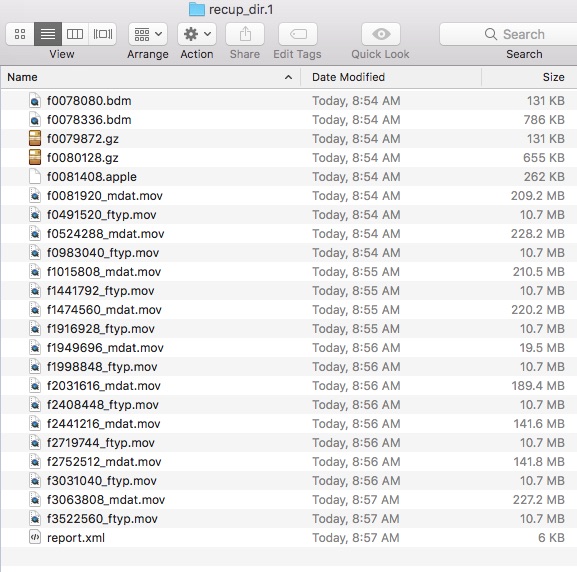
What this means is that after a successful run of PhotoRec, you might be looking at a folder like this with _mdat and _ftyp files.
Or this, with _mdat and .mp4 files.
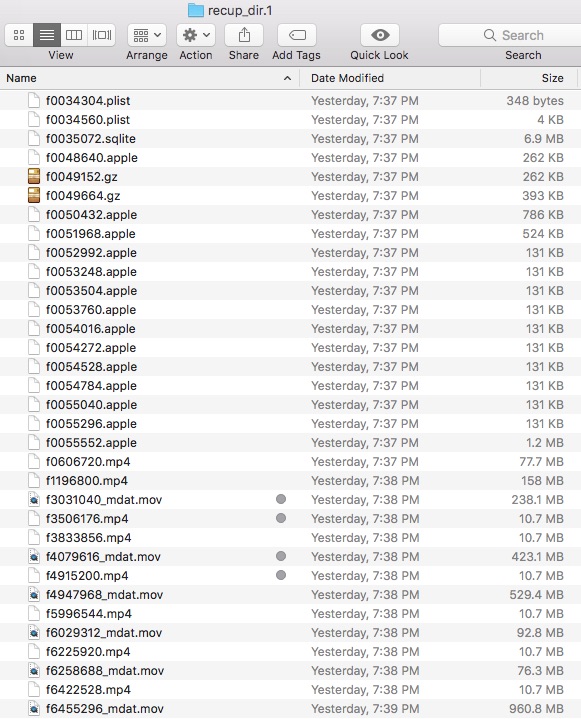
The grey dots indicate pairs of files that need to be recombined to form viable Quicktime files.
Step 5. Prepare To Recombine Quicktime Files
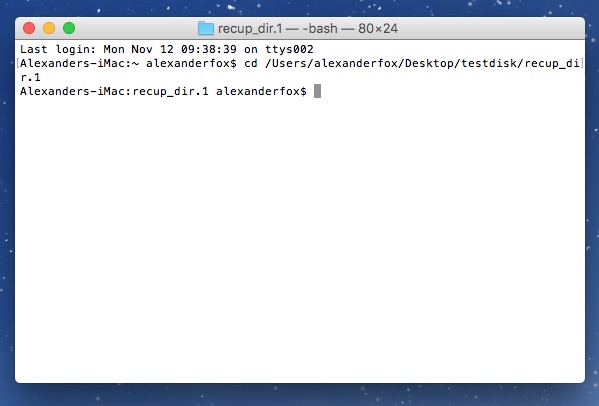
The bad news is that PhotoRec can’t automatically recombine your dismembered Quicktime files. The good news is, you can do it yourself. First you’ll need to navigate to the location of your files in Terminal. To do this, type “cd ” (for “change directory”), make sure you leave a space after “cd” and then drag-and-drop the folder containing your mdat and fty files onto the Terminal window. Once again, it should automatically fill in the location of that folder. Press Enter.
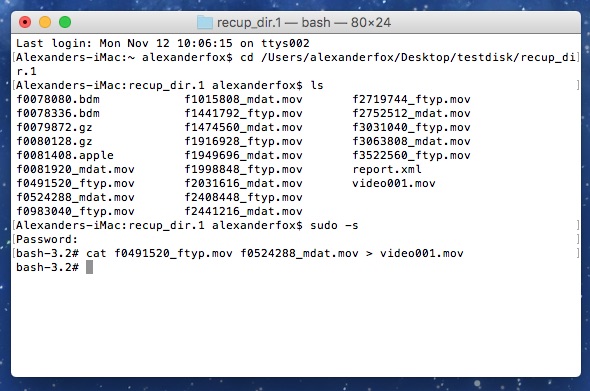
You’re in the home stretch! Type “ls” to see a list of files, to confirm that you’re in the right directory. Now you need Terminal to give you permission to mess with these files in a big way. Type “sudo -s” and enter your password when prompted.
Step 6. Recombine Quicktime Files
This part is a little tricky to get started, and then it’s easy. First, sort your files by date/time. You need to be able to match up the ftyp file and the mdat files that were created TOGETHER. The filenames will be completely useless, so you have to go by the time.
You are going to use the Terminal to “concatenate” each pair of files into one new one. The command for concatenate is “cat [ftype or mp4 file] [mdat file] > [output file].” Here are examples:
cat f0491520_ftyp.mov f0524288_mdat.mov > video001.mov
cat f0491520.mp4 f0524288_mdat.mov > video001.mov

Depending on the size of the file, it may take a few moments for the concatenation process to work. Once Terminal gives you a cursor again, you’re ready to proceed.
Order is important too … If you list the source files in the wrong order, the concatenation will be done, but the output file will be invalid.
The easiest way I found to do this was to double-click on the filename in the Finder window, copy it, and then paste the filename into the Terminal window. Is it laborious and time-consuming? Yes. Does it give you back your precious files that otherwise you would be totally screwed without? Also, yes. So, totally worth it and a small price to pay.
After your first one, open up your video editing software and double-check that the output file worked. If it did, the rest should too. If it didn’t, double-check that you sorted them into the right order, and that you’re concatenate command syntax is correct.
That’s it! Repeat for all pairs of files, checking to make sure you haven’t gotten out of sync.
You are done, and the day is saved!