It can be tricky to get a clean photograph of a small object on a white background. Many photographers get find themselves using a vast number of lights, mirrors and little cards, and still wind up spending hours retouching.
That doesn’t work for me. I’ve developed a setup that uses two lights (and some odds and ends), and 9 times out of 10 requires zero retouching.
Here’s how I do it.
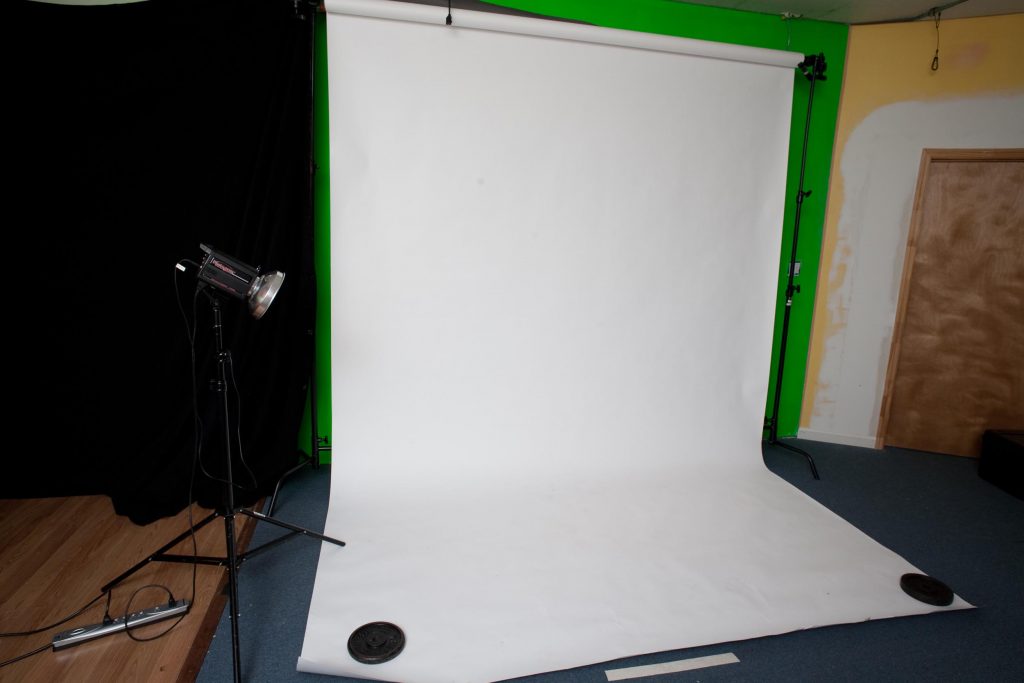
Set up a white background. I like to use seamless paper, but in a pinch you can make do with a large piece of posterboard thumb-tacked to the wall, with another piece on the floor.
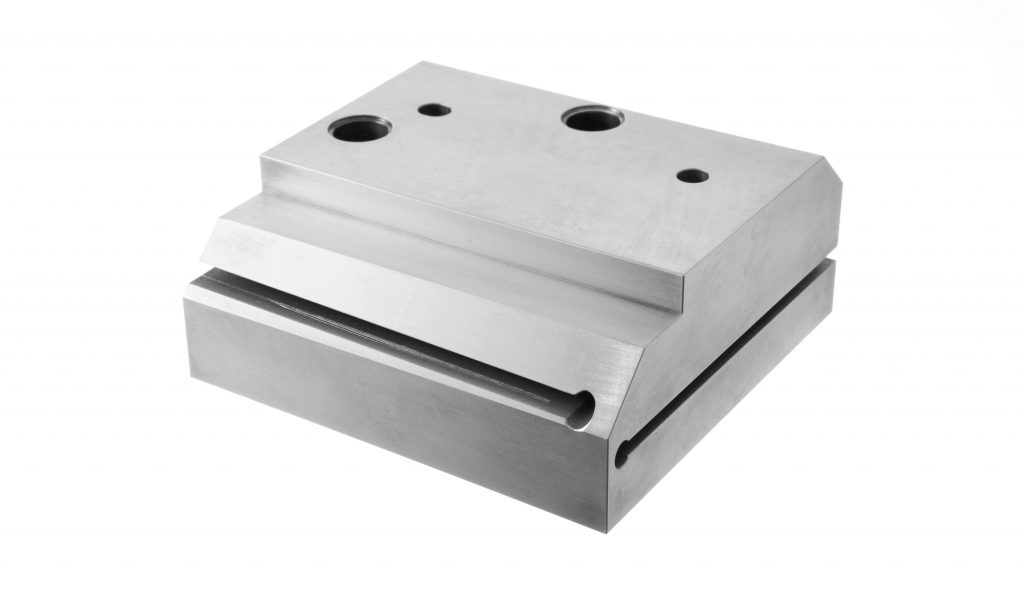
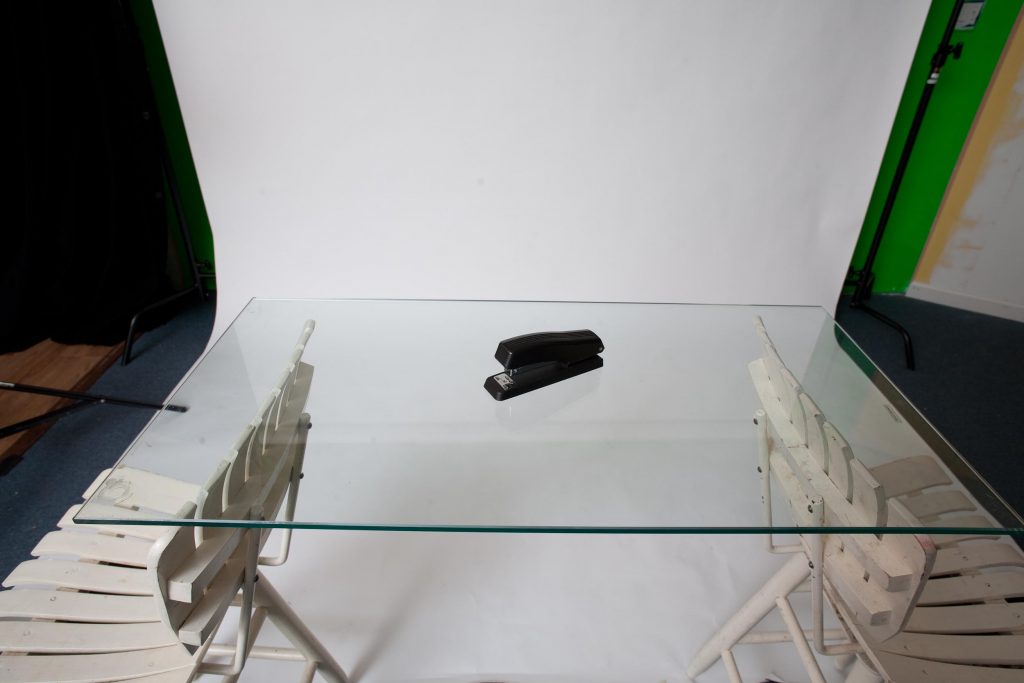
Set up a piece of glass or plexiglass just in front of the paper, and a few feet off the floor. You can use chairs, sawhorses, whatever you want, as long as it’s stable. Put your product on the glass.
Set up your camera and lamps. I used the Canon 24-70mm EOS lens for all the shots you see here. Use one lamp to illuminate the background, and another lamp to illuminate the object. I’m using Photogenic monolights, but any sort of lighting instrument would work.
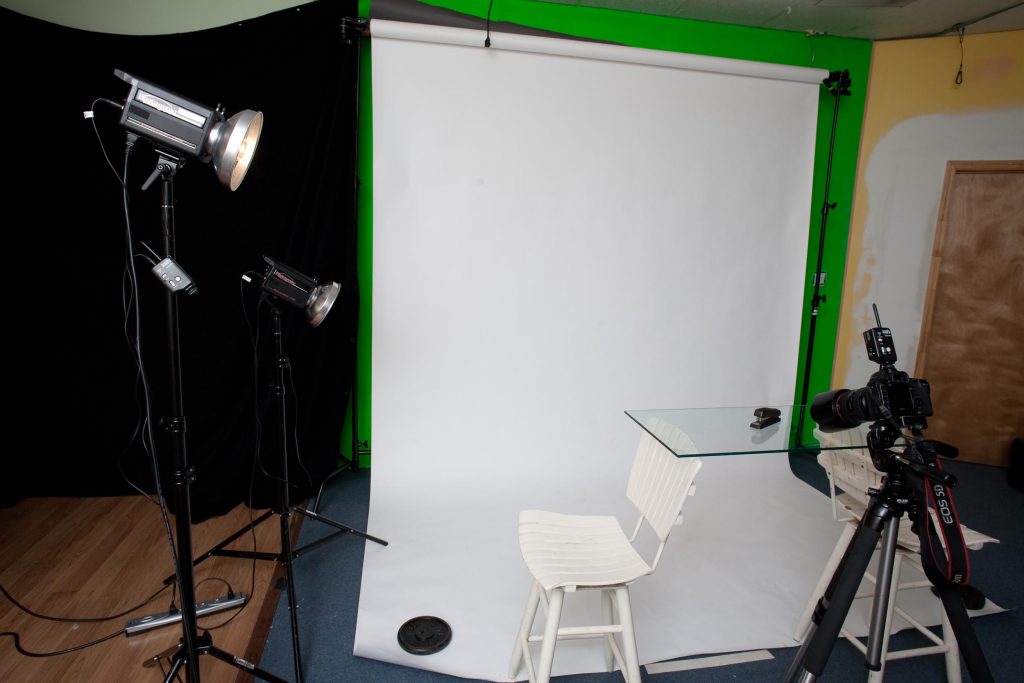
Set up your lighting modifier of choice. I’m using a fold-out silk from a 42″ 6-in-1 reflector kit here. You could also use an umbrella, a softbox, or a white sheet.
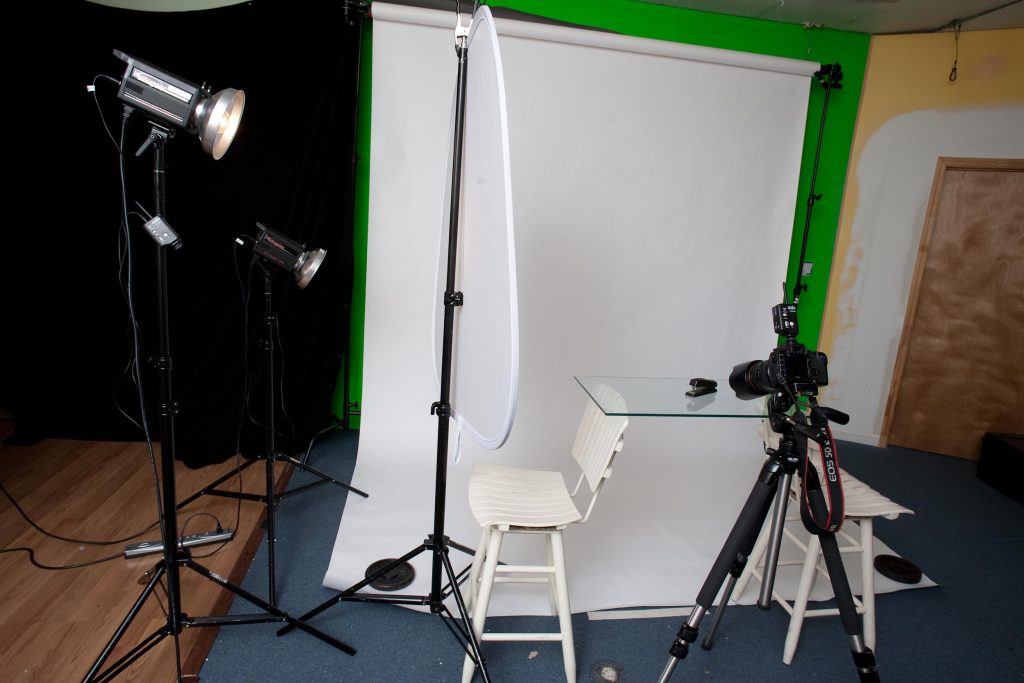
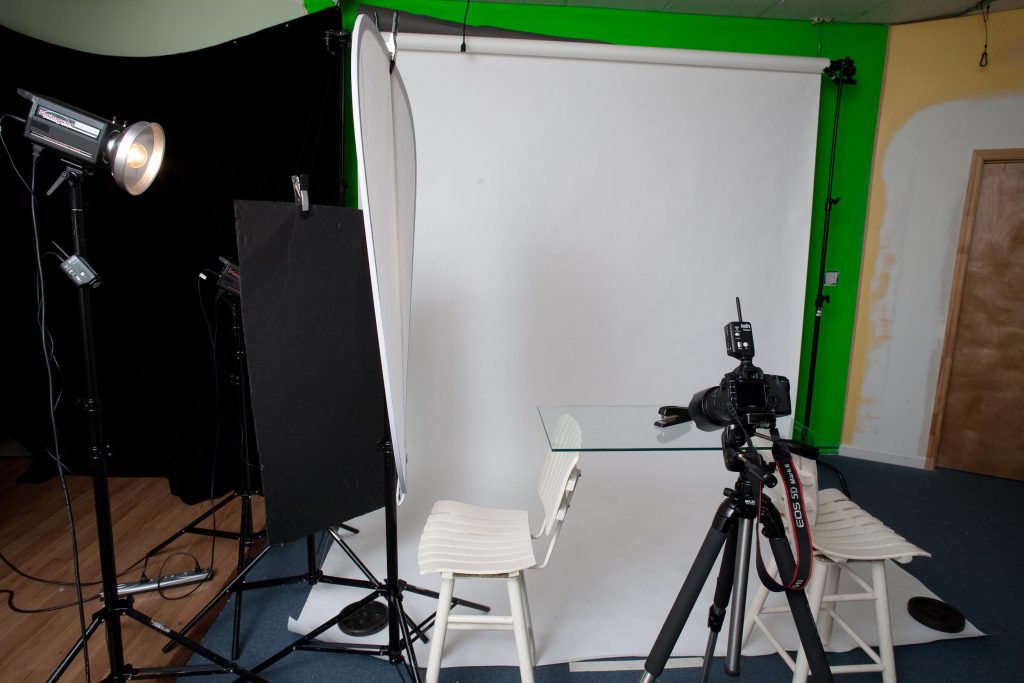
To keep the background light from flaring the camera, I like to set up a piece of black foamcore (available from any art supply store) on a stand. Depending on how your elements are arranged, you may not need to do this.
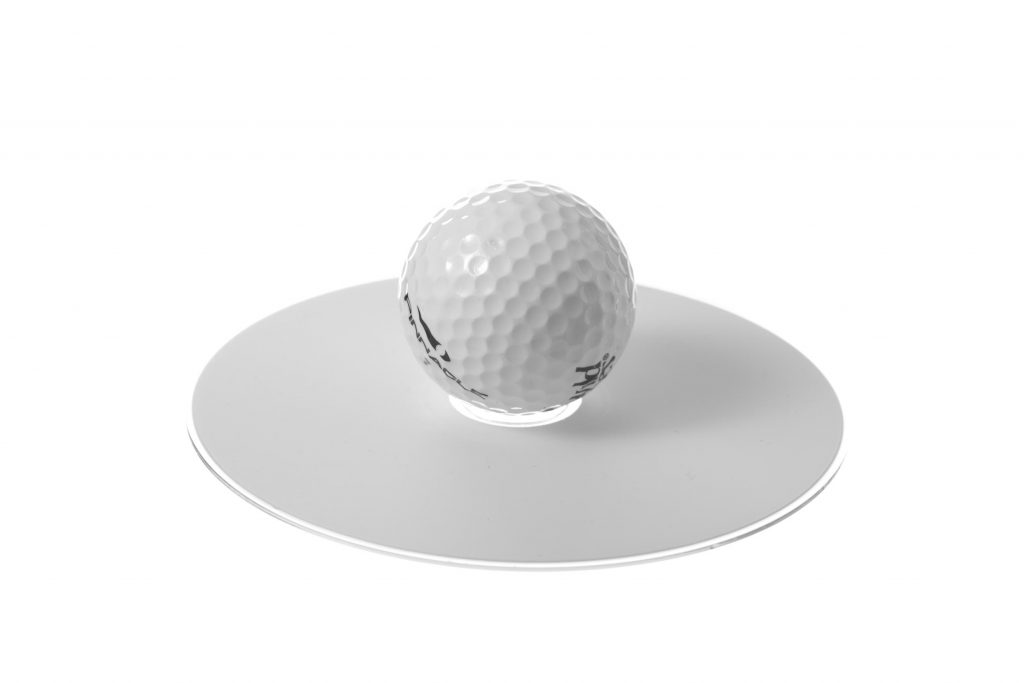
At this point, take a moment to balance out the strength of the lights. You want the background to be completely “blown out,” 100% white, but not so incredibly bright that it flares your lens of blurs the outlines of your product. A good rule of thumb is to get the background bright enough so that the edge of the glass is no longer visible. The beauty of this setup is that the product light can easily be adjusted to compensate for the darkness or brightness of the object. That’s what allows you to shoot a clean image of a white object.
Indeed, you could stop right here, and have a very nice photo.
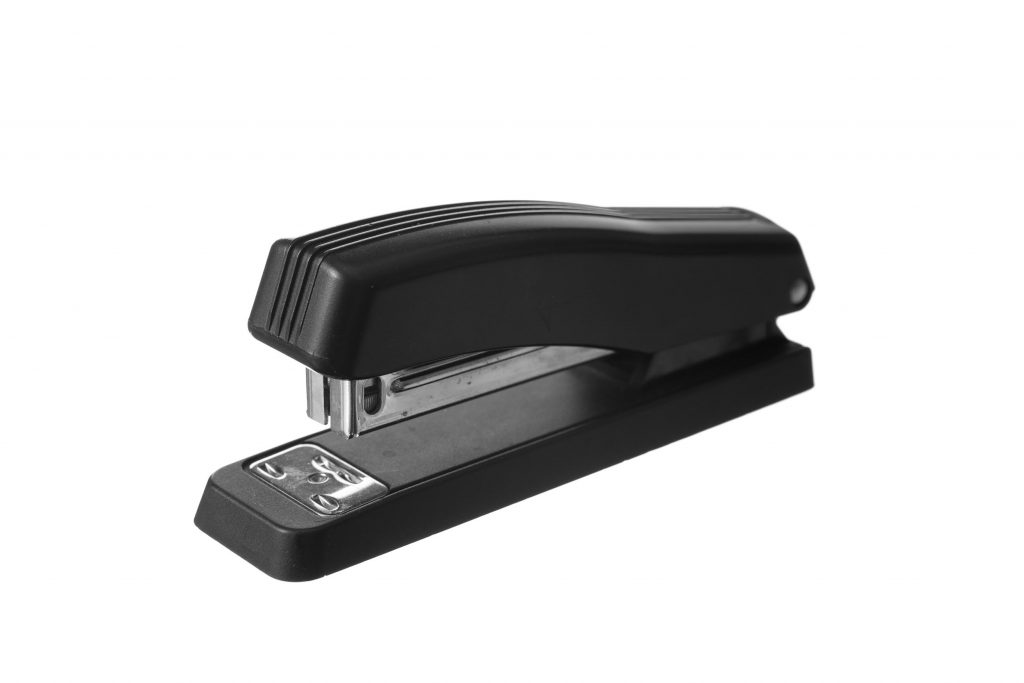
To get a little more detail out of dark objects, I like to set up a piece of white foamcore as a “bounce card,” on the opposite side of the product. This fills in the shadow areas of the product, which can be important if you’re working with dark metal or plastic. Now, snap away!
Keep a couple of pieces of foam core on hand. I use white foamcore, held directly under the camera, to bounce light in from the front, and I use black foamcore to block light from hitting portions that are getting blown out.

One final note … You can play with depth of field to good effect, but be careful: some clients might be expecting every bit of their product to be in focus. That will usually mean shooting at f/16 or higher.